How to upload photos to a Team Album in Flickr
This page explains how you can upload your team photos to an album using the FJFC Flickr account.
Step 1 – Log in to the FJFC Flickr Account
Go to the Flickr home page (https://www.flickr.com/) and log in by clicking on “Log In” at the top right of the page. Use the log in details provided to you by the FJFC Webmaster.
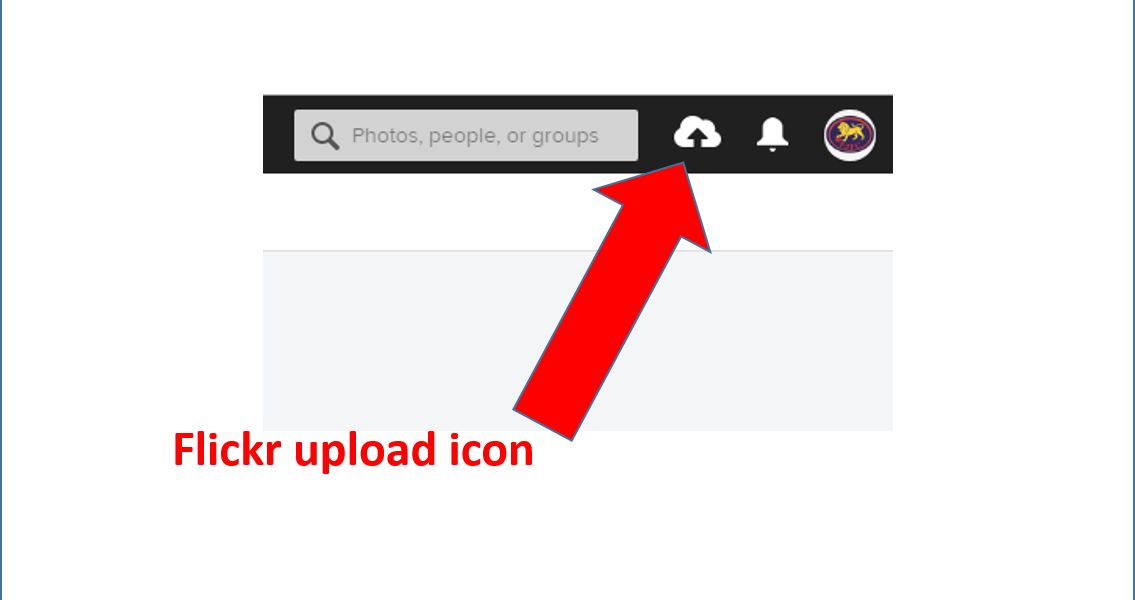
Step 2 – Click on Flickr Upload Icon
Step 3 – Choose Photos to Upload
After clicking on the upload icon from Step 2, a page will appear that prompts you to “Drag & drop photos and videos here” or “Choose photos and videos to upload”. Use either of these selection methods to select the set of photos you wish to upload.
NOTE: We recommend a maximum of 50 photos to be uploaded per game or team event.
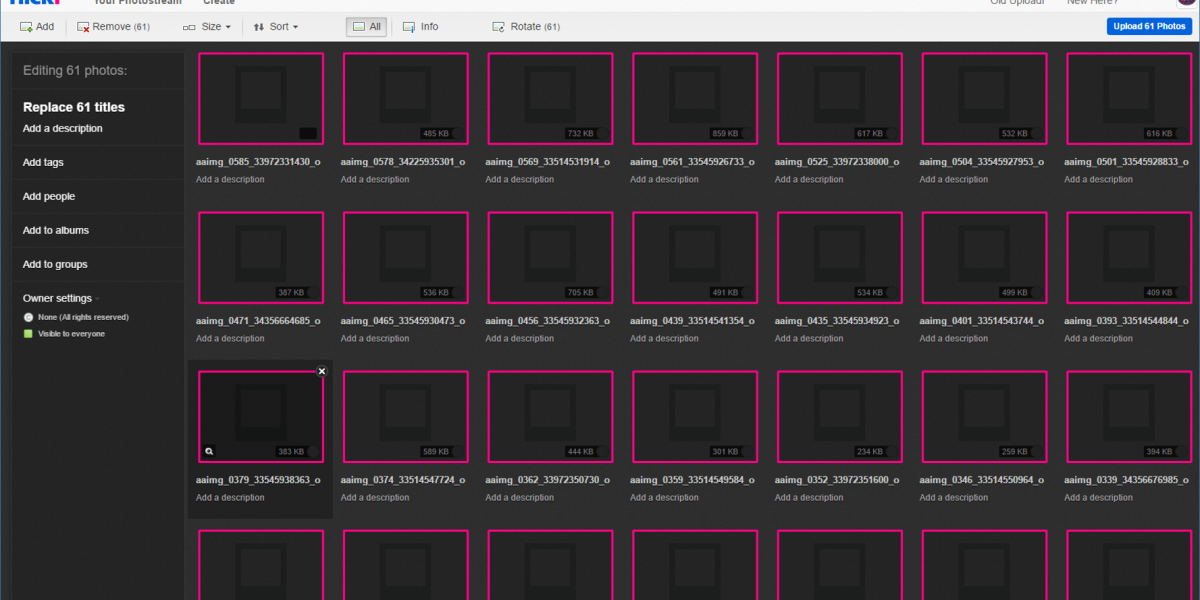
Once you have selected the photos and chosen Open from the selection dialogue, the photos you have selected will commence loading into Flickr. Note that at this point Flickr is preparing the photos to be uploaded. A page will appear as follows and each photo will progressively load in the pink box as it is prepared for upload. The tab in your browser will show “uploading” while the photos are all being prepared.
IMPORTANT – DO NOT YET CLICK ON THE BLUE “Upload xx Photos” button on the top right of the page.
Step 4 – Set Tags and Album for the Upload
While the photos are being prepared for upload (or after photos are ready – which will be indicated in the browser tab or with a message (Ready to upload)), you should set standard photo tags to be applied to each photo and also allocate them to an Album. This is a VERY IMPORTANT step and you must follow these instructions very carefully.
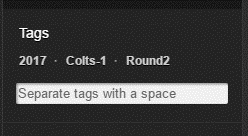
Click on “Add tags” in the left hand panel of the Uploader. You should add the following tags separated by a space:
YYYY Team Roundx
- YYYY is the season – for example, 2017
- Team is your team name which is the same as your Team Page name (without the division/grade). For example, Colts-1 or U10-3 or U14 Girls (not Colts-1 Division 1)
- Roundx should be the Round number or this can be replaced with an event if the photos relate to something that is not a match. For example, Round1, Round13 or Pienight
The image below shows the tags that would be set for the 2017 Round 2 game for the Colts-1 team.
Now click on “Add to albums” in the left hand panel of the Uploader. You should then add the Album name which should follow the format:
YYYY Team Round x
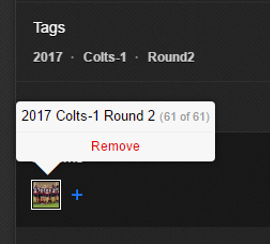
This is exactly the same as the tags above, however, there needs to now be a space between the word “Round” and the round number. For example, the album should be “2017 Colts-1 Round 2” for the the example shown above. After you specify this as the New Album, you will be prompted to include an Album Description. It is recommended that you put in some brief information about the photos such as:
- Which team played
- Where the game was played
- Date and time of the game
- Results of the game
Step 5 – Upload Tagged Photos to Album
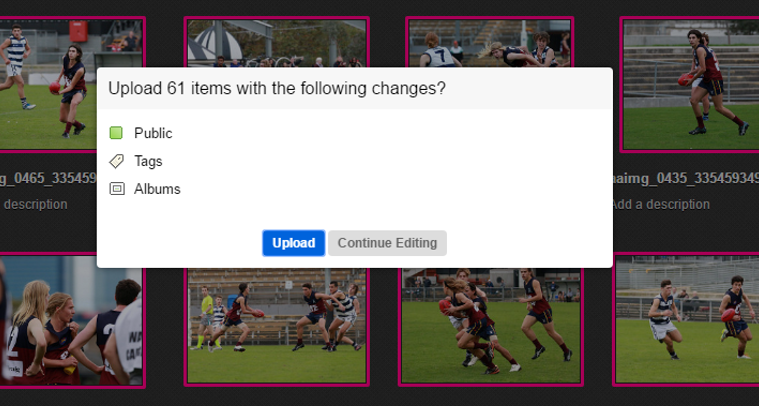
After the photos have been prepared for upload (tab of browser should show (Ready to upload) and all the photos should have finished processing and loaded an image the the pink boxes), and you have completed Step 4 to apply the tags and allocate photos to an album, you can now click on the blue “Upload xx Photos” button on the top right of the Uploader page.
A confirmation pop-up will appear and you can click on “Upload” to proceed, or “Continue Editing” if you realise you have not set the tags or the album appropriately. The confirmation pop-up appears as below:
Step 6 – Wait for Upload
An upload progress pop-up will appear and you should wait until it shows upload is complete. Once complete, you will be taken to the Flickr account photostream.
Step 7 – Allocate Photo Album to your Team Collection
The final step is for you to allocate the Photo Album you have just uploaded to your Team Collection in Flickr. This will make it available when anyone clicks on the “Photos” link from your Team Page. To do this you must follow these steps in Flickr:
- In the very top menu of the Flickr page where you see “Flickr”, “You”, “Explore”, and “Create” access the “You” menu and click on “Organize”
- Then click on “Albums and Collections” in the top menu – you should see the album you just loaded as one of the first one or two albums shown (see image below)
- Select the album you just loaded in Step 6 and drag it across to your Collection which should be shown in the left hand panel of the page
- Drop your new album in the appropriate location within your Collection (be careful to drop it within your Team Collection and sequence rounds in order – Round 1 first, then Round 2 and so on)

You are done!! You have successfully loaded photos into your Team Photo Gallery and they will now appear when you click on the “Photos” icon from your Team Page.
Step 8 – Sign Out
When finished, please make sure you sign out of the FJFC Flickr account as it may limit how many other concurrent users can sign in to upload photos. To sign out simply click on the FJFC user icon in the top right of the page and select “Sign Out”.
If you wish to create a link from your Team Page to this particular album that you just loaded, then see How to link to your Albums in Flickr.
